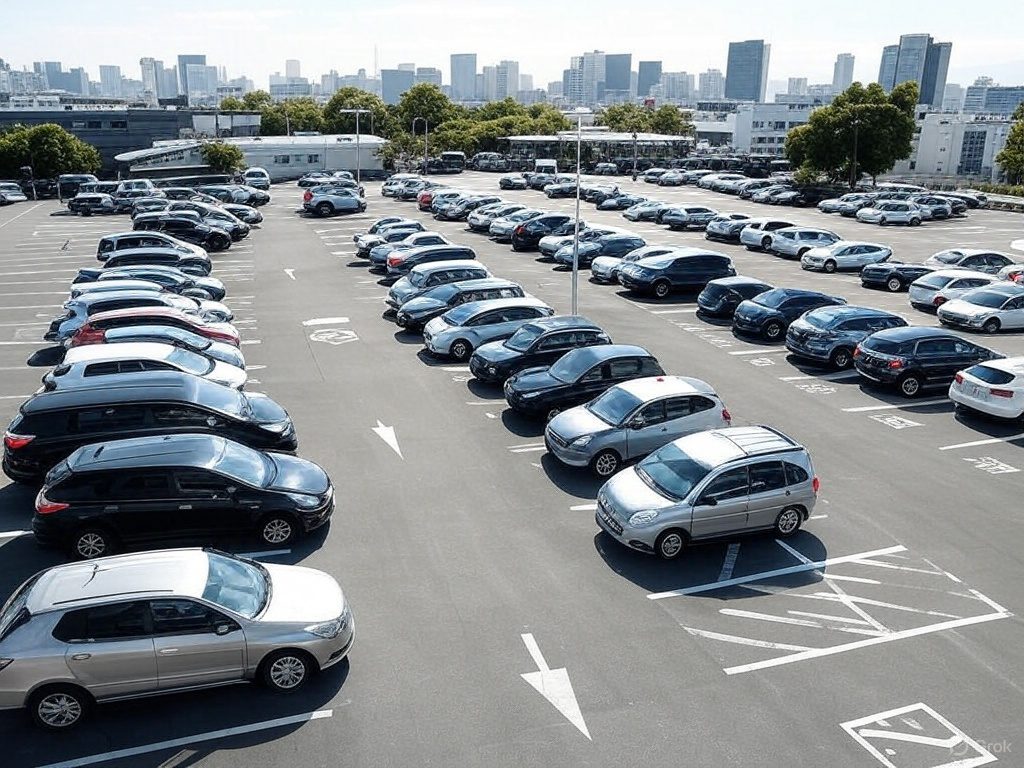
Parking Lot Striping Guidelines
1. Planning and Design
Proper planning is the foundation of an effective parking lot layout. A well-designed lot maximizes space, ensures safety, and meets legal standards.- Evaluate Space: Measure the parking lot’s total area (length and width) to calculate the number of parking spaces. Use a tape measure or laser tool for accuracy.
- Comply with Regulations: Research local zoning ordinances and the Americans with Disabilities Act (ADA) requirements. The ADA mandates a minimum number of accessible spaces based on total parking capacity—e.g., 1 accessible space per 25 standard spaces for lots with 1-25 spaces (ADA Standards for Accessible Design).
- Optimize Layout: Design an efficient layout that includes parking stalls, driving aisles, entry/exit points, and pedestrian pathways. The Institute of Transportation Engineers (ITE) recommends angled parking (e.g., 45° or 60°) for high-turnover areas like retail centers to improve traffic flow.
2. Parking Stall Dimensions
Standardized stall sizes ensure vehicles can park comfortably and safely. Dimensions may vary slightly by jurisdiction, so confirm local standards.- Standard Spaces: Typically 9 feet wide by 18 feet long, as recommended by the Urban Land Institute (ULI) for most passenger vehicles (ULI Parking Standards).
- Compact Spaces: Often 8 feet wide by 16 feet long, ideal for smaller cars and space-constrained lots. Clearly label these as “Compact Only.”
- Accessible Spaces: Per the ADA, these must be at least 8 feet wide with a 5-foot-wide access aisle for car-accessible spaces, or an 8-foot-wide aisle for van-accessible spaces, plus 98 inches of vertical clearance for vans (ADA website).
3. Line Striping Techniques
High-quality striping enhances visibility and durability, reducing the need for frequent touch-ups.- Paint Selection: Choose durable, reflective, traffic marking paint designed for asphalt or concrete.
- Application: Stripe lines at a consistent 4-inch width using a striping machine for precision, a standard upheld by the Manual on Uniform Traffic Control Devices (MUTCD) (MUTCD Section 3A.05).
- Color Coding: Use white striping paint for standard lines, yellow striping paint for no-parking zones or crosswalks, and blue striping paint for accessible space markings, as per MUTCD guidelines.
4. Marking Accessible Spaces
Accessible parking spaces must be clearly identifiable and compliant with ADA standards to ensure usability for individuals with disabilities.- Paint the International Symbol of Accessibility (wheelchair icon) in white on a blue background within the stall, as required by ADA Section 502.6.
- Install signage at least 60 inches above the ground, displaying “Van Accessible” where applicable.
- Use blue parking blocks to reinforce accessibility and prevent encroachment.
5. Traffic Flow and Safety Features
- Directional Markings: Paint arrows, stop bars, and crosswalks per MUTCD standards to ensure clear traffic flow.
- Parking Blocks: Install parking blocks to prevent vehicles from rolling into walkways or adjacent spaces.
- Aisle Widths: Maintain 24 feet for two-way traffic aisles and 12-15 feet for one-way aisles, as suggested by the ITE Parking Generation Manual.
- Lighting: Ensure adequate illumination per the Illuminating Engineering Society (IES) guidelines for parking facilities (e.g., 1-2 foot-candles).
6. Maintenance and Re-Striping
Regular upkeep keeps your parking lot functional and visually appealing.- Inspections: Check for faded lines, cracks, or peeling paint every 6-12 months, as recommended by the National Pavement Contractors Association (NPCA).
- Re-Striping Schedule: Plan re-striping every 18-24 months, or sooner in harsh climates, aligning with FHWA pavement marking durability estimates.
- Surface Prep: Power-wash the lot and repair potholes before re-striping to ensure paint adheres properly, per ASTM International standards.
Please Note: This article is for general informational purposes only. Please understand and follow local laws and specific state regulations
Learn more about parking blocks, striping paint and other traffic safety solutions at TrafficSafetyStore.com. You can also explore our wide range of Valet Cones and Valet Signs to find the right fit for your specific needs.
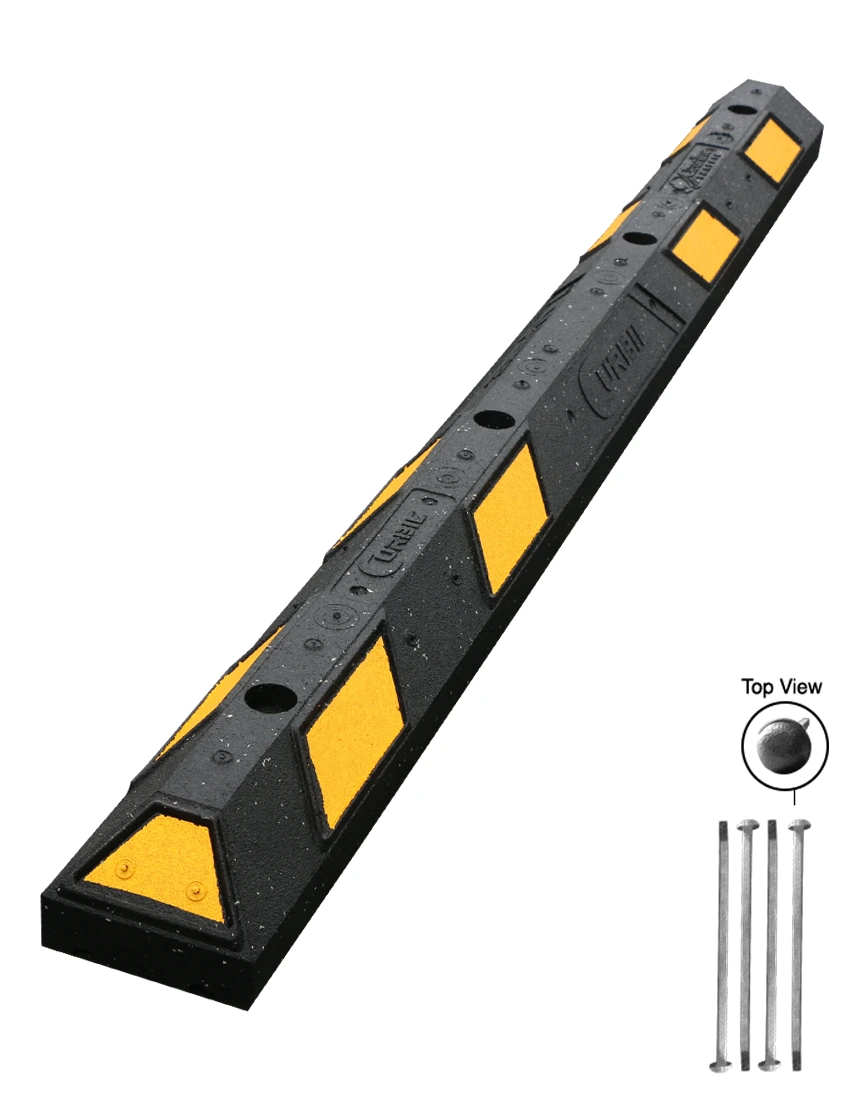
6’ Clearline® Rubber Parking Blocks
6’ Clearline® Rubber Parking Blocks
- 6' long x 6" wide at base x 4" high - rubber parking block
- Approx. 36 lbs each - made from recycled rubber
- Four (4) Pieces of Mounting Hardware Included
- Two color options - Black/Yellow, Black/White

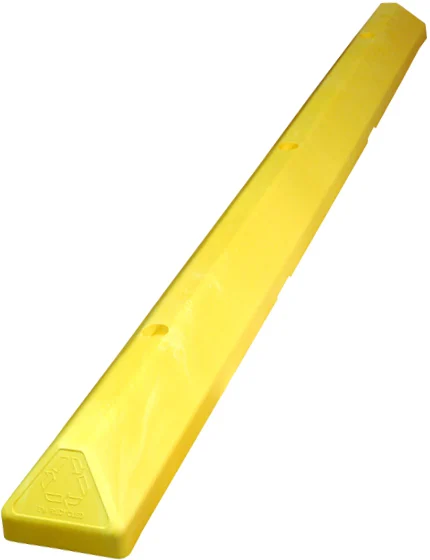
6' Commercial Plastic Parking Block
70.5" long x 5.75" wide x 4" tall, Approximately 16 lbs. each.
Seven Colors to choose from - - Safety Yellow, Gray, White, Handicapped Blue, 'Electric Vehicle' Green, 'Fire Lane' Red & National Park Service Brown
Includes three (3) fasteners per block
Engineered for added strength at lower weight, the 6-foot commercial plastic parking block can be carried and installed by a single person. LEED qualified and made from injection-molded, 100 percent recycled HDPE plastic, this parking stop resists tire scuffing and natural elements. The color is molded throughout – there's no upkeep required. Great for shopping mall parking lots, apartment and condo complexes, and commercial grounds. Comes in high-visibility yellow, traditional gray, white, handicapped blue, electric vehicle green, fire lane red and NPS Brown. Has recessed bolt holes and mounting hardware is included.
Ships Immediately
- 70.5" long x 5.75" wide x 4" tall
- Approx. 16 lbs each
- Mounting Hardware Included
- Choose - Safety Yellow, Concrete Gray, White, Handicapped Blue, Electric Vehicle Green, Fire Lane Red & National Park Service Brown
This Kit Includes:
- One (1) 70.5" Safety Yellow Recycled Plastic Parking Block
- Three (3) 12.5" Galvanized Steel Spikes
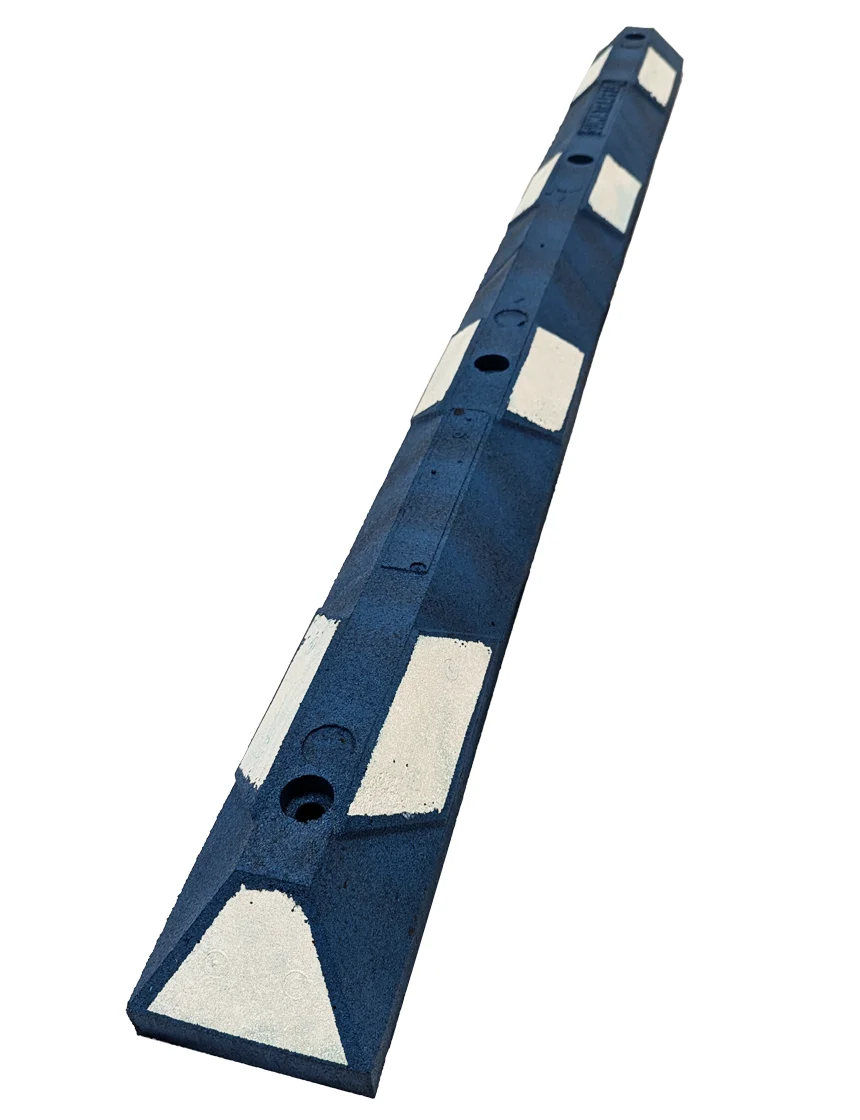
6' Rubber Parking Blocks
6' Rubber Parking Blocks
- 72" Long x 6" Wide x 4" Tall
- 38 lbs. Each
- Four colors to choose from: Black & Yellow, Black & White, Blue & White, Green & White
- 100% Recycled Rubber
* Compatible with GNR 'Park-It' rubber parking blocks (Mounting holes in same location)